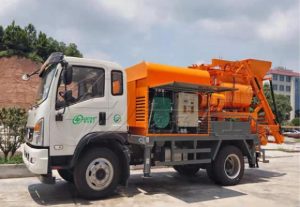
How to operate a concrete pump? When you receive your dream concrete pump, this must be the first issue to be solved. Now, are you ready? Please start your efficient concrete pumping operation with me right now!
Preparation Before Operate A Concrete Pump
Before entering the formal pump operation, please make sure to conduct pre-use testing on your new equipment. The specific steps are as follows, mainly including check your machine and non-load test.
Check The Pump Machine
After finishing the pump installation, the machine should be checked carefully.
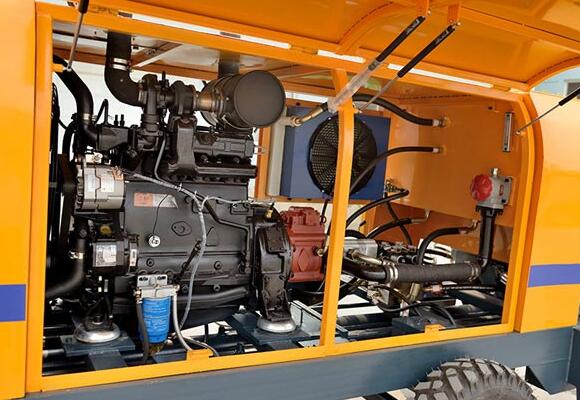
- First, make sure whether the oil level within scope of prescribed scope.
- Second, check hydraulic hose fittings, fixing seat and other equipment. If there is any loose and oil leakage, immediate measures must be taken to ensure everything is in normal condition.
- Also, check if there is a disconnect electrical components, if there is any loose for the node.
- If there is something waste inside the hopper, please clean it right now.
- Then, check the voltage 24V-28V. Please ensure the cable clamps meet the request and check the ground connection and neutral protection.
- Turn on the control line switch, power indicator light and PLC module electrify. Then observe the indicator lights on the module, namely ‘start’ ‘running’ and ‘ trouble light’. If start the machine, the ‘running’ on, ‘ trouble light’ off, this shows the running is normally. Now, we can operate the machine.
- At last, respectively press the buttons pumping, anti-pump, inching, vibrate, mixing and observe the PLC input & output signals.
Non-load Test
If every thing is OK , the non-load test can be conducted.
Step1 The Start Of The Diesel Engine
- Check throttle motor reached out to the normal position on the basis of throttle pull loose.
- Turn on the master power switch, the power indicator will light on the electric cabinet. Then turn the startup key clockwise to start the engine. The diesel engine should run at idle speed, at around 700rpm.
- Engine start can’t be more than 20 seconds each time and the interval should not be less than a minute to avoid battery lost electricity.
- Check the diesel engine adjusting switch to make sure it is in good condition.
- The operation of the diesel engine should be complied with the specifications.
Step2 Fill The Water Tank
Firstly, open the cover of water tank, add clean water until flood over the piston rod, (the concrete pumps with output capacity below 40m3/h need to be added 2cm height of cleansing oil).
The water and cleansing oil in the water tank is used to keep cooling and lubricating: cool and lubricate the concrete cylinder’s piston, piston rod and sealing parts of piston rod. Without water, even in non-load state, the concrete cylinders will also be damaged quickly. To make sure the cleanness, it is essential to change the water inside of the water tank every day.
Step3 Fill The Lubricate Oil Tank
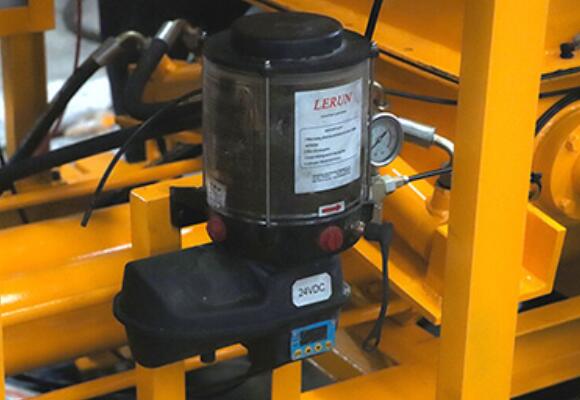
Secondly, check whether there is lubricating oil in the lubricating pump. And add lubricating oil as required. Other non-automatic lubricating points need to add grease by grease gun.
Step4 Press The Pumping Button
Then, press the pumping button and observe whether all are in normal. Such as the action, the noise, anti-pumping function and the working condition of lubricating system.
Step5 Start Mixing
If it is a concrete mixing pump, you should check the mixing function.
Step6 Test The Pressure
Go ahead for testing pressure, and check the pressure of oil line.
Note: In the process of the whole process of operate a concrete pump, we should pay constantly attention to the connection of all concrete pump parts, the condition of the hydraulic rubber hose and various instruments. If there is any emergency, please press the switch “master stop” and make stop the machine, just in case.
At last, if you patiently follow the prompts to complete the above testing steps, congratulations! Now, we can go to the construction site for practical operations!
Pipeline Layout Before Operate A Concrete Pump
When your pump has arrived at the site, the layout of the conveying pipeline can start immediately. You can refer to the product manual for specific steps and precautions. We will not elaborate here, but only provide the following principles for pipeline laying for reference.
To ensure the safety, efficiency and smoothness of concrete pumping, the pipeline laying of should follow the principles below.
Avoid External Forces
Concrete conveying pipelines are never allowed to withstand any external tension.
Short Distance And Few Bends
The pipeline layout should be laid according to the principle of shortest distance and least bends. It is aiming to reduce pumping resistance and avoid pressure loss caused by excessive bending of the pipeline.
Stable Connection
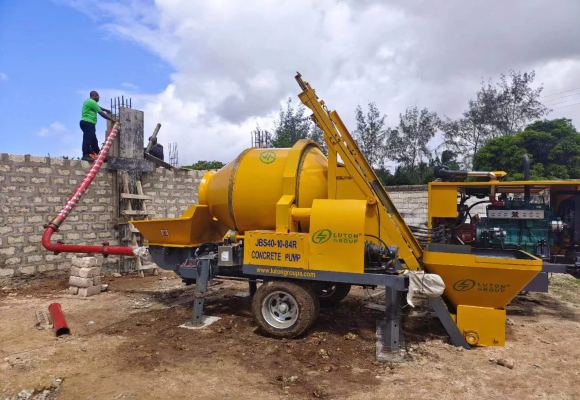
To avoid shaking and loosening, each pipeline must be firmly and stably connected. At the same time, firm fixing points and support points should be installed at the bend.
Accessibility
The conveying pipeline should be arranged in a location that is easy to access for cleaning and replacement.
Installation of Pipe Clamps
Each pipe clamp should not touch the ground or support. There should be a certain gap for easy disassembly. At the same time, each pipe clamp must be installed with sealing rings and tightened with bolts. In this way, all joints should be tightly sealed, without leakage of slurry or air.
Horizontal Pipeline Support
Horizontal pipelines should not be suspended and must have firm support. Horizontal pipelines on the floor should be padded with sleepers or old tires.
Export Cone Pipe Treatment
It is not allowed to directly connect elbows at the pump outlet cone pipe. Instead, a straight pipe of more than 5m should be connected before connecting the elbow.
Reaction Force Absorption
A fixed device should be equipped on the pipeline at the place 3-5m away from the pump body.
It is to absorb the reaction force of the pumped concrete flow, stabilize the pump and reduce the vibration of the concrete conveying pump pipeline.
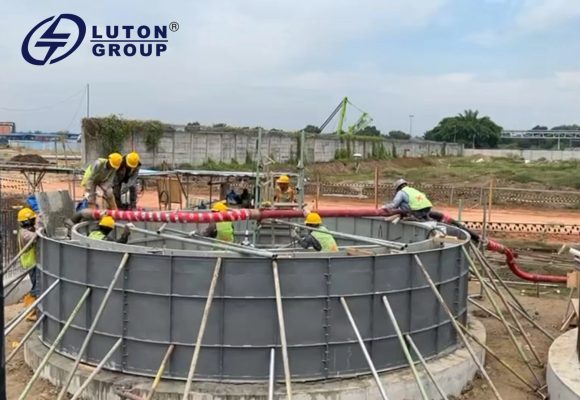
Far First And Near Later
The pipeline layout should meet the requirements of pouring far first, then retreating in sequence. It is to avoid dismantling and connecting during the pumping process, which may affect the operation.
Safety Protection
Necessary shielding and protective materials should be added to the conveying pipelines near the pump and in hazardous areas where personnel need to enter. It is to prevent injury or death caused by pipeline rupture or loose pipe clamps.
Seasonal Protection
In summer, when the pump pipe is exposed to strong sunlight, it should be covered with wet grass bags or other protective equipment. It is to avoid pipe blockage by concrete overheating and dehydration.
In winter, when the temperature is below -5℃, a straw bag should be covered on the pump pipe to ensure the molding temperature of concrete.
Vertical Pipeline Treatment
Vertical upward pipelines cannot use bottom bends as support points. And support points should be added on each floor. Straight pipes and elbow pipes need to be fixed with clamps. They can be fixed on walls, scaffolding, the tower body of tower cranes, or inside elevator shafts.
Back-flow Protection
For vertically upward pipelines, as the height increasing, the transported concrete tends to back flow. A certain length of horizontal pipeline should be laid between the pump and the vertical pipeline to ensure sufficient resistance to prevent concrete back flow.
Following the above principles of pipeline layout can ensure the safety, efficiency and smoothness of the concrete pumping process. At the same time it can reduce the likelihood of malfunctions and accidents.
The concrete pumping pipeline has been successfully installed! Next, let’s operate the concrete pump!
Start-up of Operate A Concrete Pump
- At first, start concrete pump and keep idle running. Prolong this period in case of low temperature (or adopt the other heating methods to heat the hydraulic oil). Pumping work can starts only after hydraulic oil temperature raise above 15℃.
- Then, check if the running device is normal. Wrench the operation rod of delivery pump for mixing, the mixing axle should can forward, reversal, and stop. Pulling the main cylinder for left and right and move the knob, if the left and right cylinder have movements, once your hands leave, all will stop.
Stop A Concrete Pump
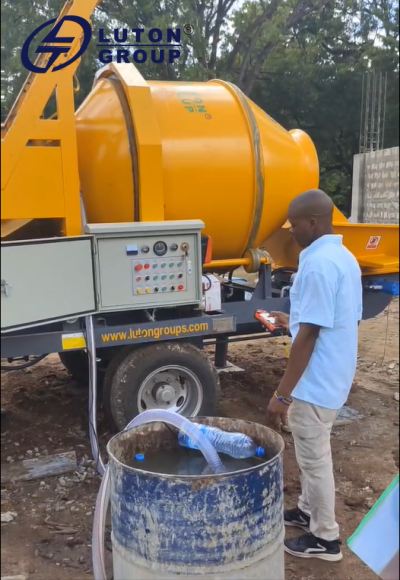
- Diesel engine automatic speed dropped to idle state when stop pumping, (about 700 RPM), after 3 to 5 minutes, then open switch to the stop position ,diesel engine shut down.
- Stop all the circuit breaker in the electric control cabinet, switch off main power switch, battery main switch and lock the electric control cabinet.
Operate Pumping Work
- Start the engine, after 3-5minutes idle running, turn on the button of pumping, the diesel engine rotating speed automatically rose to about 1800-2000 r/min, entering to the pump working condition.
- First, pump water: first, pump one or two hopper water in order to humidify the pipe, hopper and concrete cylinder according to the pipe distance.
- Go on mortar pumping: first, pumping 0.1m3 pure cement paste, then add the 1:2 ratio martar, to make the whole concrete conveying flow get lubricated and then can pumping concrete. NOTE: Don’t let mortar totally pumping-out, the mortar should keep above the line of mixing axle. After concrete added into the hopper, we can pumping together. Mortar quantity is about 0.5m3 per 200m pipeline. To the pumping of downward-inclined-pipe, before pumping the mortar and cement, it must be put two water-soaked foam ball in the pump outlet or roll the water-soaked together and put them into the short- columnar cement paper bags, avoiding cement mortar free-falling and cause pipe blocking.
- Then pumping concrete: when the mortar oddments is above the mixing axle, add the concrete and start pumping. The concrete in the hopper should always keep the above on the centre-line of mixing axle. If the feed can’t keep the pace, stop the deliver anytime, don’t idle.
Pay constant attention to the concrete that getting into the hopper, if found segregation tendency, stop pumping, after add the cement mortar and mixing evenly then can pumping. Open the unloading door if necessary, and excluding all the inferior concrete in the hopper.
When straight-up pumping break and start again, so recommend you to anti-pump for several strokes, breathing the concrete of s pipe and delivery pipe back to the hopper, and then pumping after mixing.
Clearing Pipe And Pump
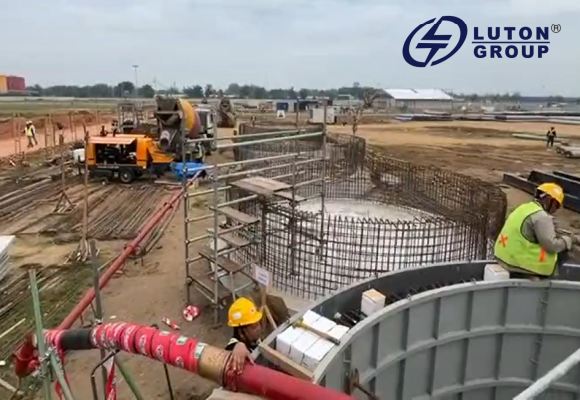
After pumping, open the hopper door, take out the oddments in the hopper, unloading the taper pipe, and clear up. Main oil cylinder move and take out the concrete of concrete cylinder. Using water to wash the hopper, put the two water soaked sponge Ball into the taper pipe, press the taper pipe and close the hopper door, put water into the hopper to deliver by pump, until the sponge ball take out from the end of the pipe.
Note: when the distance is long to deliver and the height is high, suggest that after deliver 2 bucket mortar by pump, and then wash the pipe, present blocking due to aggregate segregation when washing.
Keep in mind: Any case should make the concrete cylinder, distributing valve, hopper, deliver pipe clean.
Unloading and shut down, open the unloading door, clean hopper, manifold and the concrete on the fuselage.
Cut off power supply at last.
Wow! Dear friend! How is your feeling now? I want to say, well done! You finished the first operation of your concrete pump machine successfully!
Now, just make as much future as possible by your perfect pump! Good luck, friend!
Hot Models Of LUTON Concrete Pumps
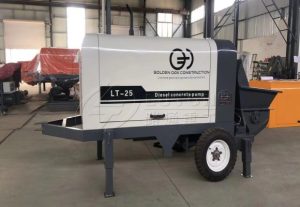
Mini Concrete Pump
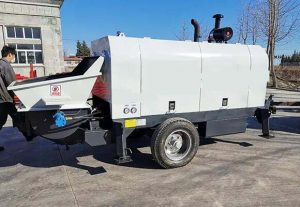
High-Pressure Concrete Pump
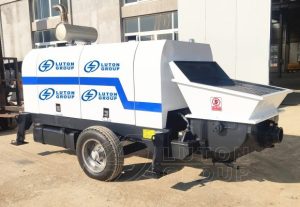
Concrete Trailer Pump
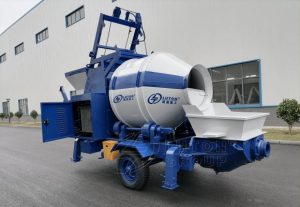
Concrete Mixer Pump
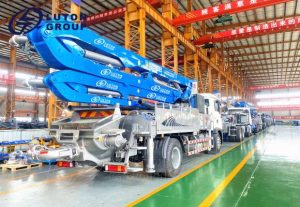
Concrete Boom Pump
